
Application hosting
Deploy Fastify applications
A complete guide to deploying a Fastify API with HostRight Control Panel, production configuration, static files, databases, Redis and SSL.
Fastify is a low-overhead Node.js framework for APIs, webhooks and high-throughput services. HostRight's managed Node.js application tool supplies the runtime and domain mapping while Fastify handles routing and application logic.
This page uses example.com and apps/fastify-api.
Prepare the project
Use a private application root:
apps/fastify-api/
├── app.js
├── package.json
├── package-lock.json
├── plugins/
├── routes/
└── public/
Install Fastify and define a production start command:
npm install fastify
A complete minimal app.js is:
const Fastify = require('fastify');
const path = require('node:path');
const fastifyStatic = require('@fastify/static');

const app = Fastify({ logger: true });
const port = Number(process.env.PORT || 3000);

app.register(fastifyStatic, {
  root: path.join(__dirname, 'public'),
  prefix: '/assets/',
});

app.get('/health', async () => ({ ok: true }));

app.get('/', async () => ({
  message: 'Fastify is running on HostRight.',
}));

const start = async () => {
  try {
    await app.listen({ port, host: '127.0.0.1' });
  } catch (error) {
    app.log.error(error);
    process.exit(1);
  }
};

start();
Keep process.env.PORT in the startup code. The managed application layer supplies it.
Create the HostRight Control Panel application
Open Extra Features > Setup Node.js App and select Create Application.
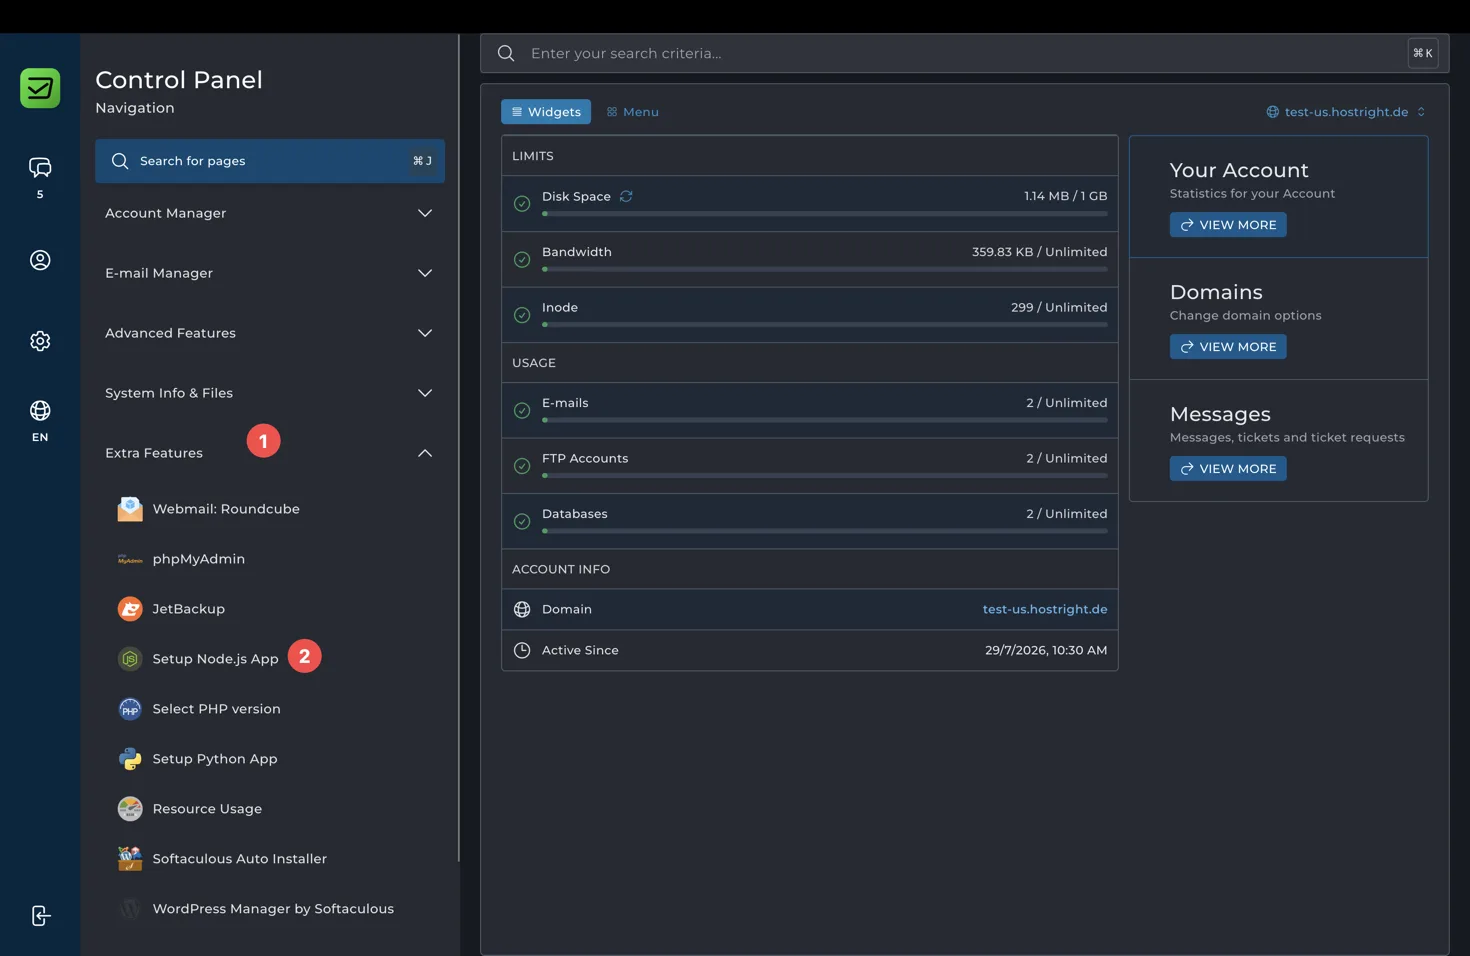
Use:
| Field | Value |
|---|---|
| Node.js version | A supported version compatible with Fastify |
| Application mode | Production |
| Application root | apps/fastify-api |
| Application URL | example.com |
| Startup file | app.js |
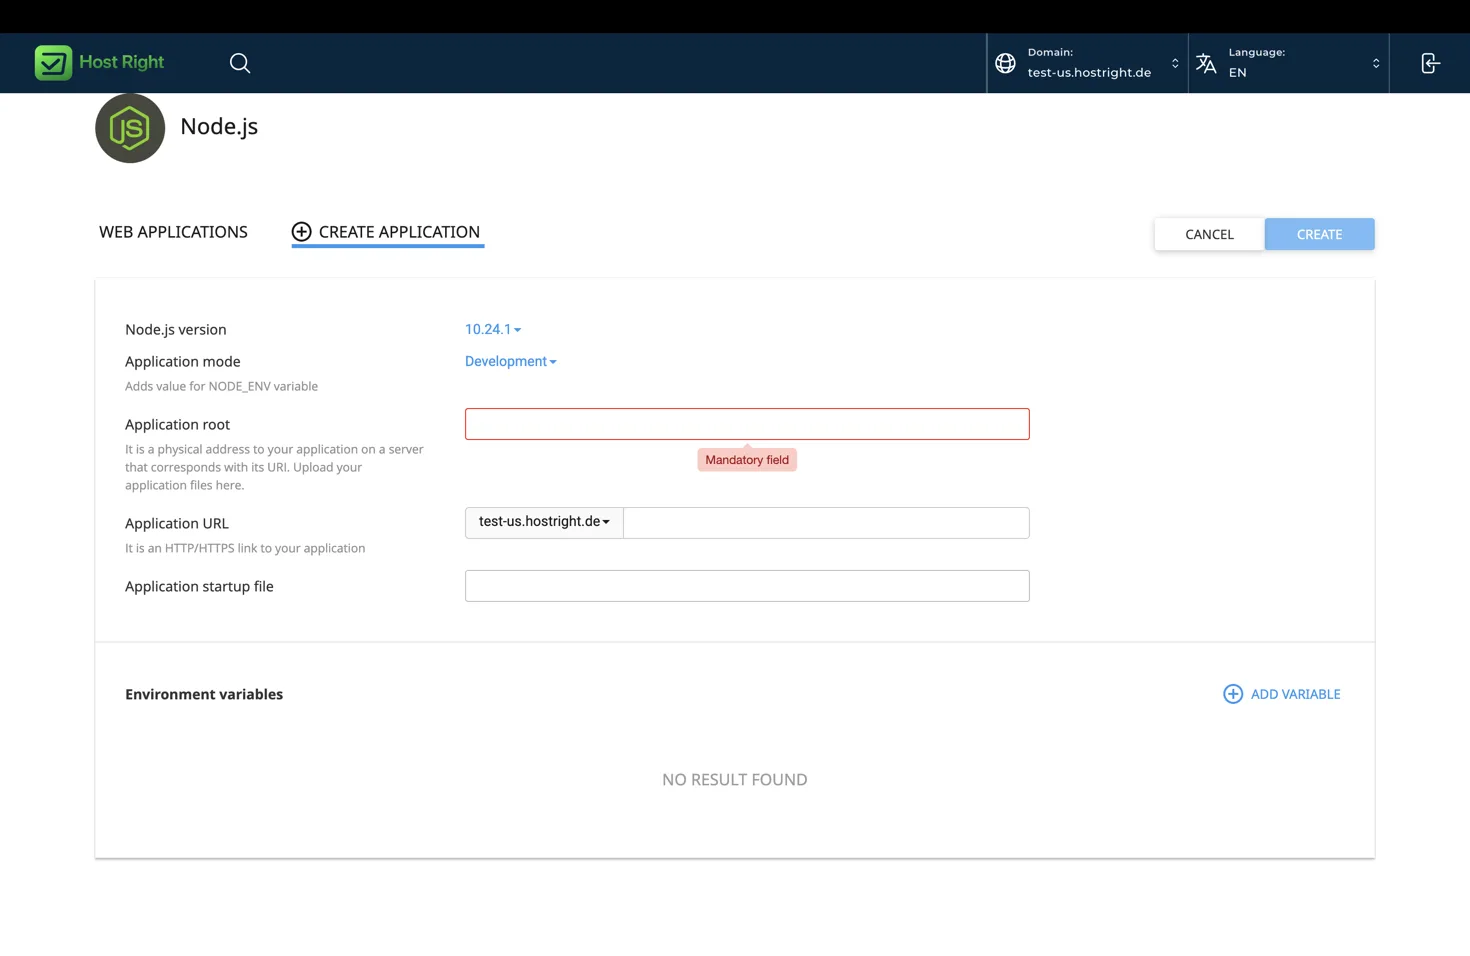
Choose Production mode and add NODE_ENV=production, database settings and REDIS_URL.
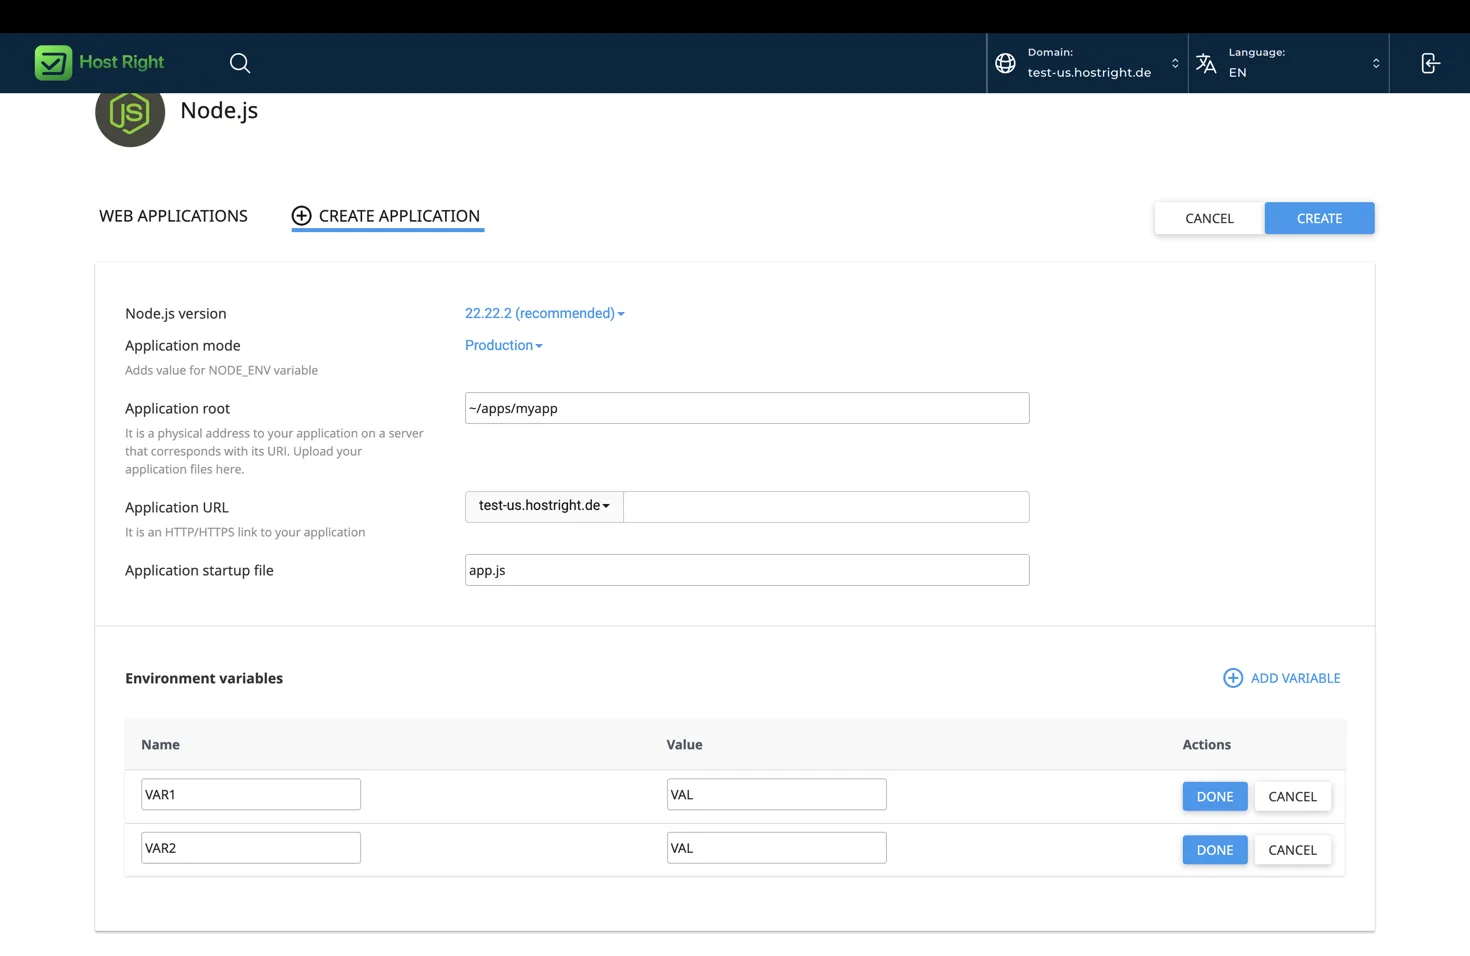
Select Create, install dependencies and open the application details page.
Deploy dependencies and code
Use Git for repeatable releases:
cd ~/apps
git clone YOUR_REPOSITORY_URL fastify-api
cd fastify-api
npm ci
For production:
npm ci --omit=dev
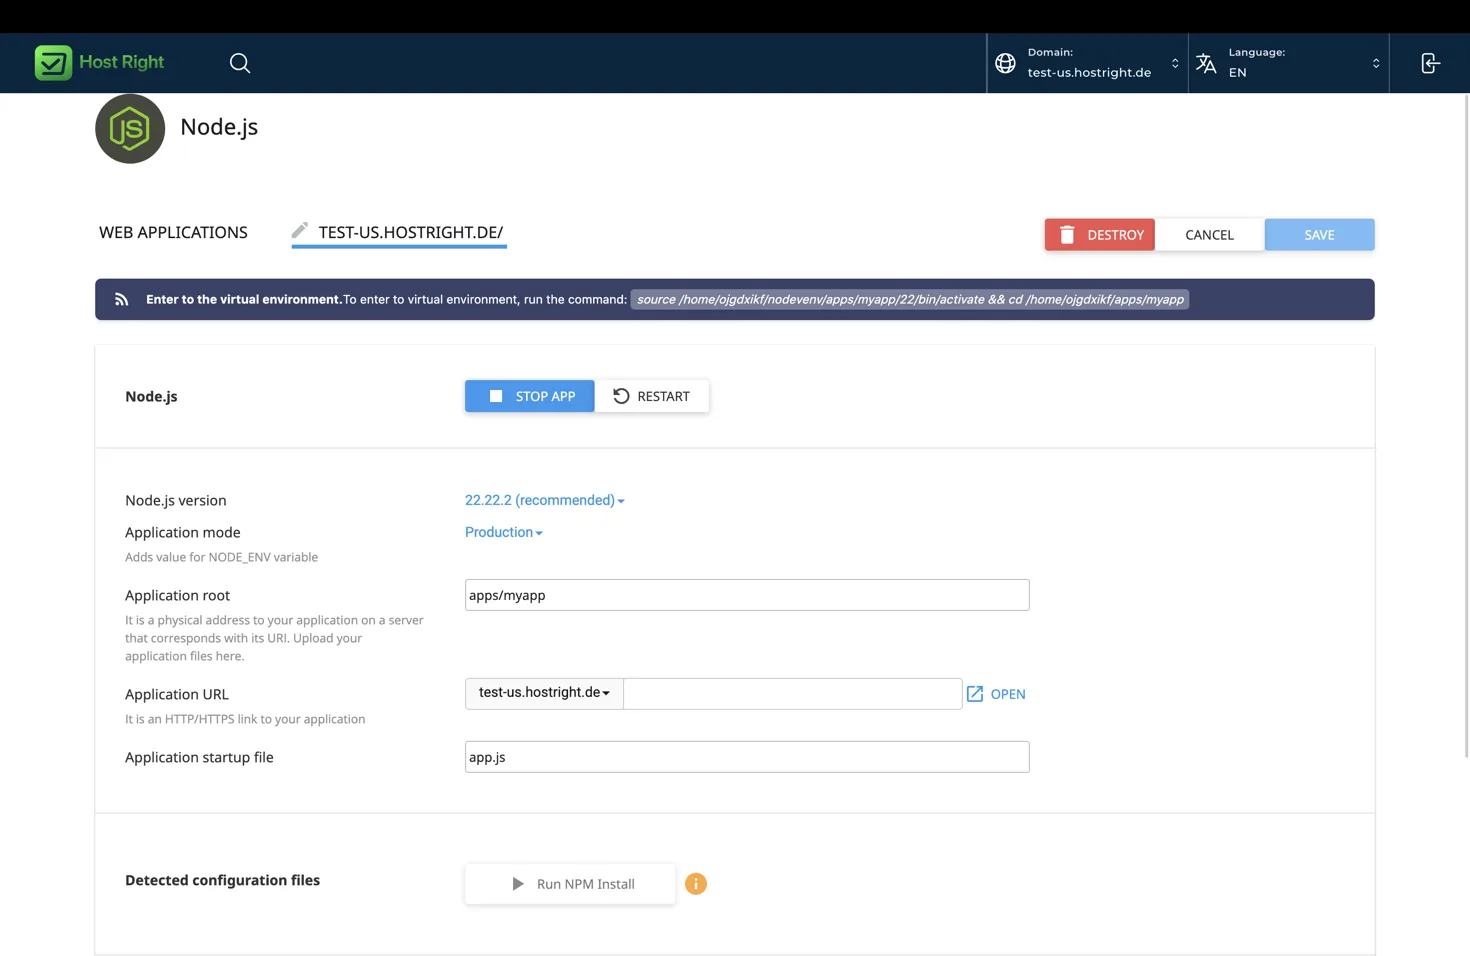
Use SSH to run commands, SFTP for encrypted uploads and FTP only when required. The panel may also provide Run NPM Install.
Restart after dependencies, source or environment variables change.
Routes, plugins and static files
Register plugins before routes that depend on them. Keep secrets in environment variables and validate them when the application starts. Fastify's schema validation is useful for rejecting invalid API input before it reaches business logic.
The @fastify/static plugin serves files from public. Test an asset at https://example.com/assets/app.css. If you do not need static files, omit the plugin and keep the application API-only.
Set appropriate cache headers for immutable assets. Keep uploads outside the source tree or use S3-compatible object storage for large media.
Database
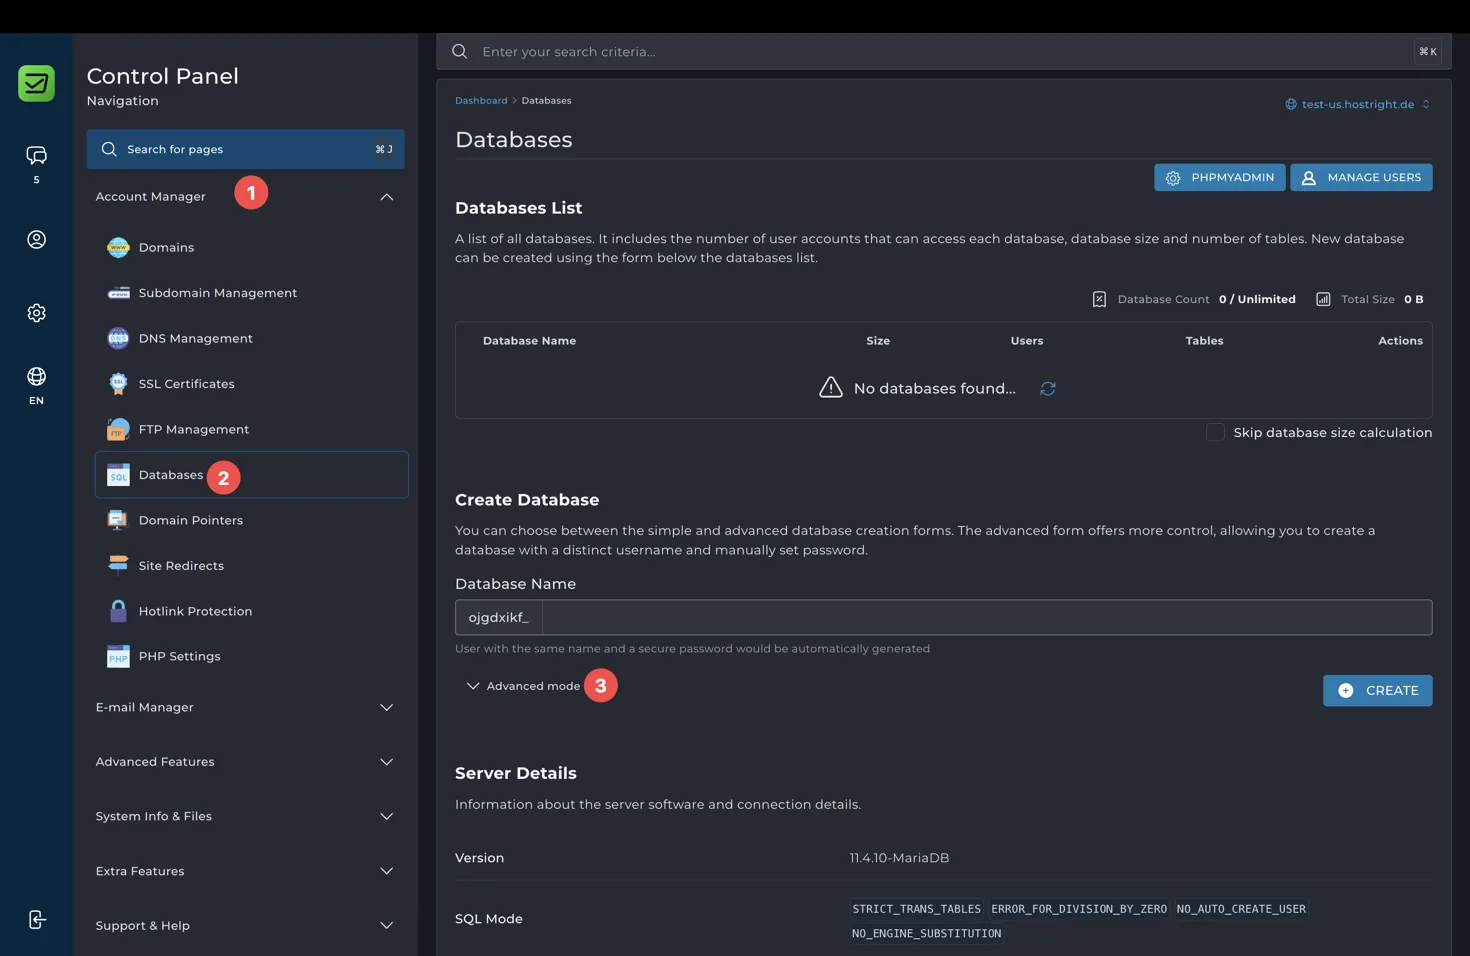
Create the database and user in HostRight Control Panel, grant access, and add DATABASE_URL or individual values to the application environment. Initialize a pool or ORM from process.env:
const { Pool } = require('pg');
const pool = new Pool({
  connectionString: process.env.DATABASE_URL,
});
Run migrations before restarting:
npm run migrate
Use the database management guide for the panel-specific creation workflow. Keep database errors behind a safe API response and log the detailed error server-side.
Redis
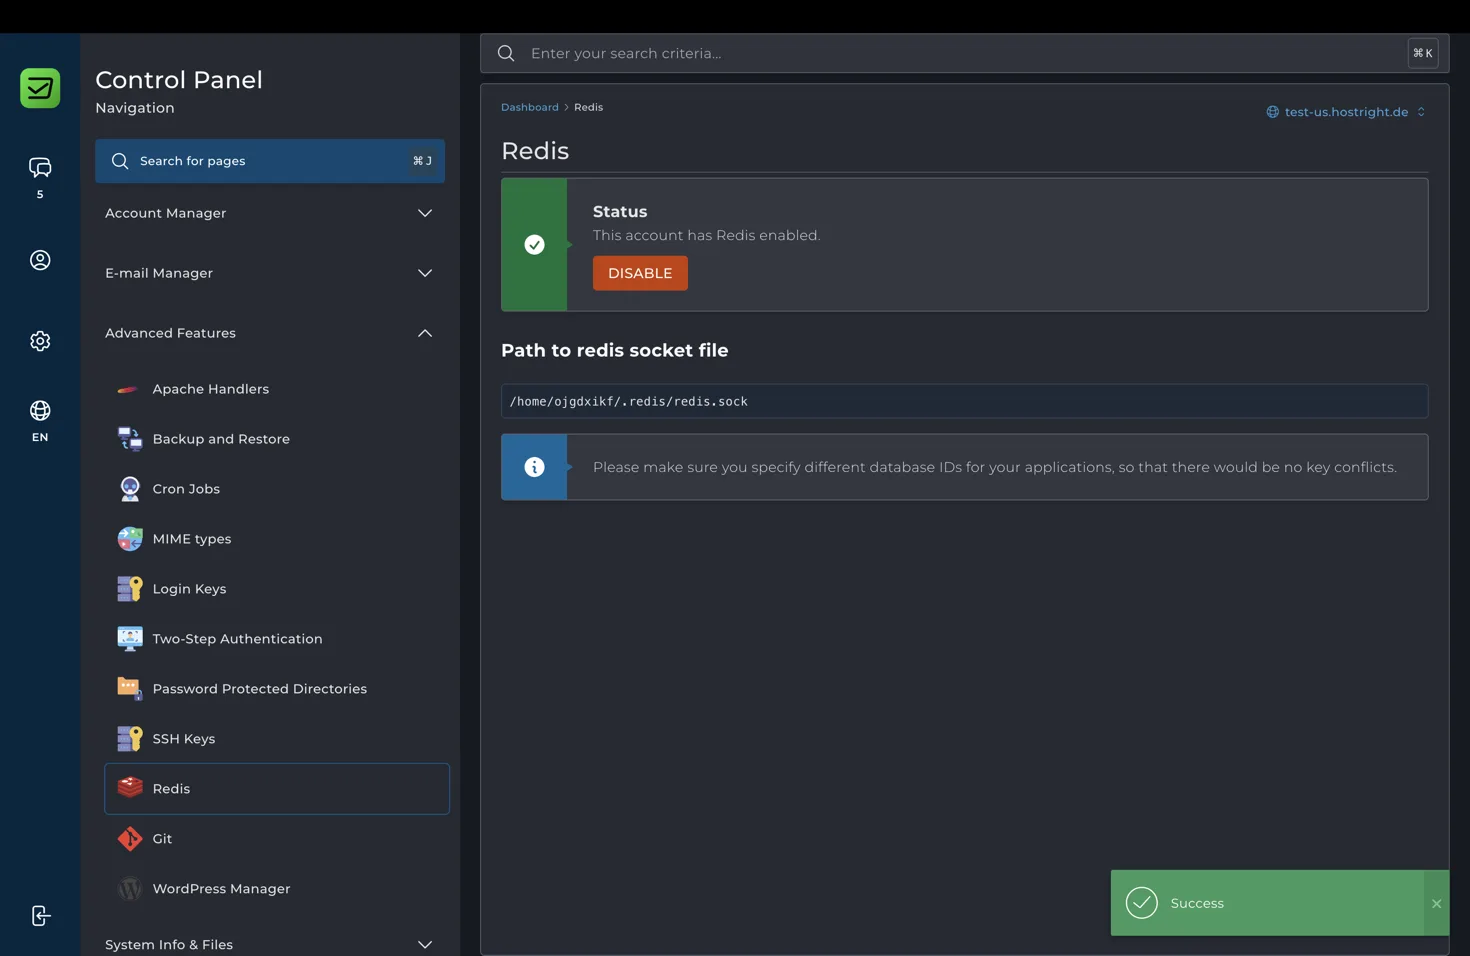
Redis supports caching, rate limiting, sessions and queues. Enable Redis in the panel, copy the socket or URL, and set REDIS_URL in HostRight Control Panel:
const { createClient } = require('redis');
const redis = createClient({ url: process.env.REDIS_URL });
redis.on('error', (error) => app.log.error(error));
await redis.connect();
Use a separate Redis database number per application when available. Do not treat Redis as durable application storage. The Redis guide provides the panel-specific socket setup.
SSL and proxy behavior
Issue an SSL certificate after DNS is connected. Fastify applications behind a hosting proxy should use the framework's proxy settings when reading protocol or client IP headers. Test secure cookies and HTTPS redirects after the certificate is active.
Complete the SSL certificate setup after this basic configuration.
Production release
cd ~/apps/fastify-api
git pull --ff-only origin main
npm ci --omit=dev
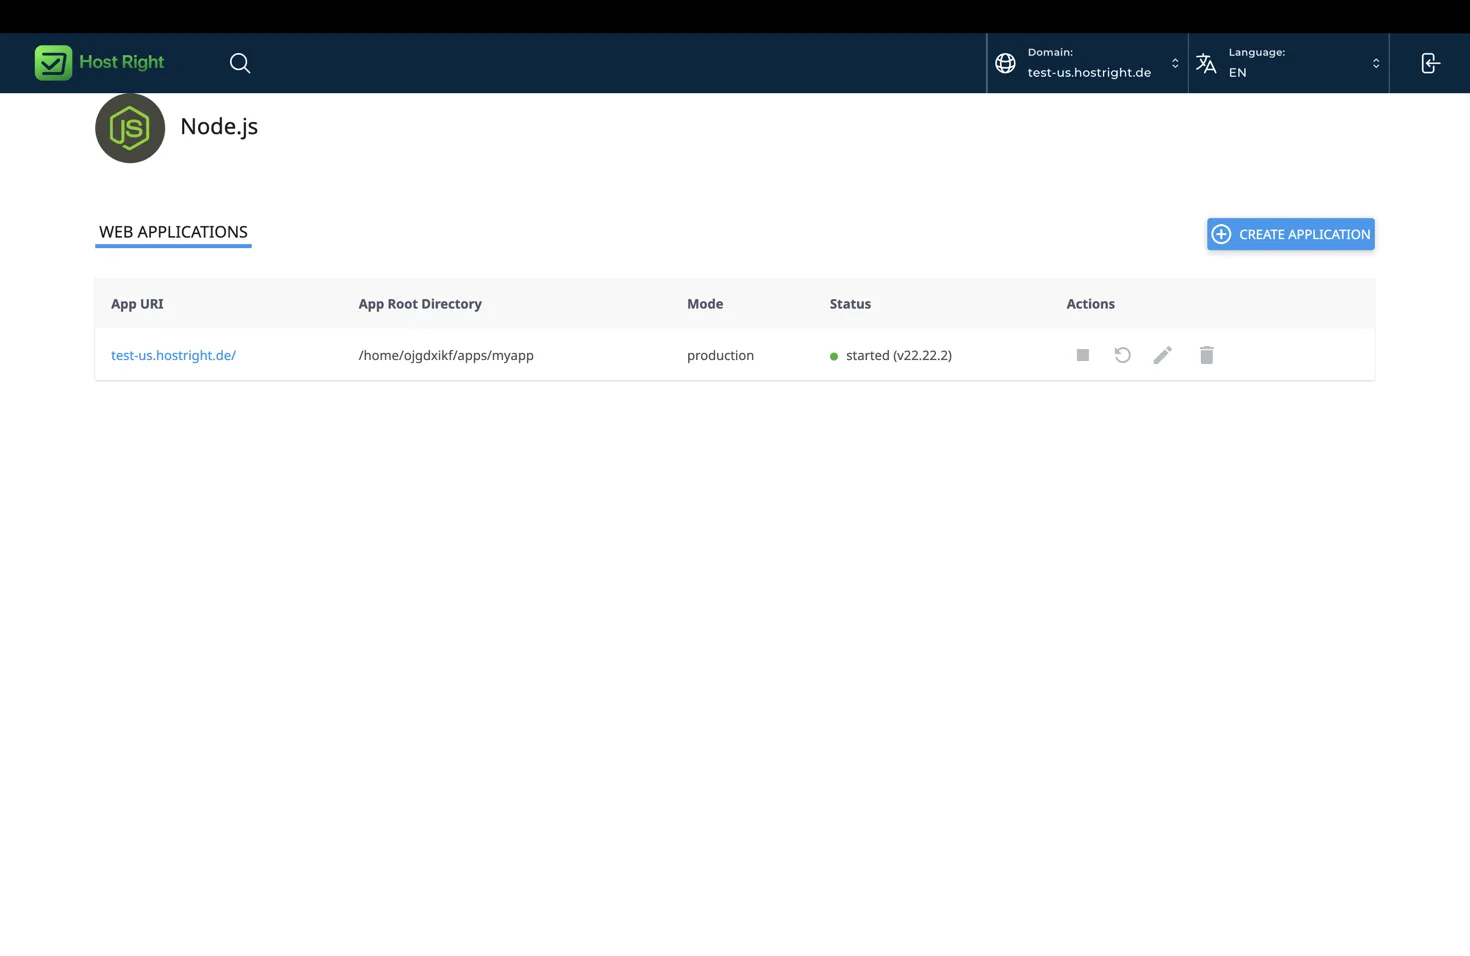
Run migrations if required, then restart from HostRight Control Panel. Confirm the application list shows a started status.
Troubleshooting
The process exits immediately: run node app.js inside the managed environment and inspect the first error.
The domain cannot connect: verify that Fastify listens on process.env.PORT and 127.0.0.1.
A plugin is missing: run npm ci from the application root and ensure production packages are in dependencies.
Static assets fail: confirm @fastify/static is installed, the root path is correct and public was uploaded.
Database or Redis fails: verify environment variables, socket values, permissions and restart the application after changes.