
Application hosting
Nextcloud hosting
A starting guide for running a Nextcloud workspace with HostRight.
Nextcloud on HostRight
Nextcloud provides private file storage, sharing, calendars and collaboration. Softaculous can install the application and create its initial database, but Nextcloud still needs careful storage, PHP, cron, SSL and backup planning.
Access Softaculous and search
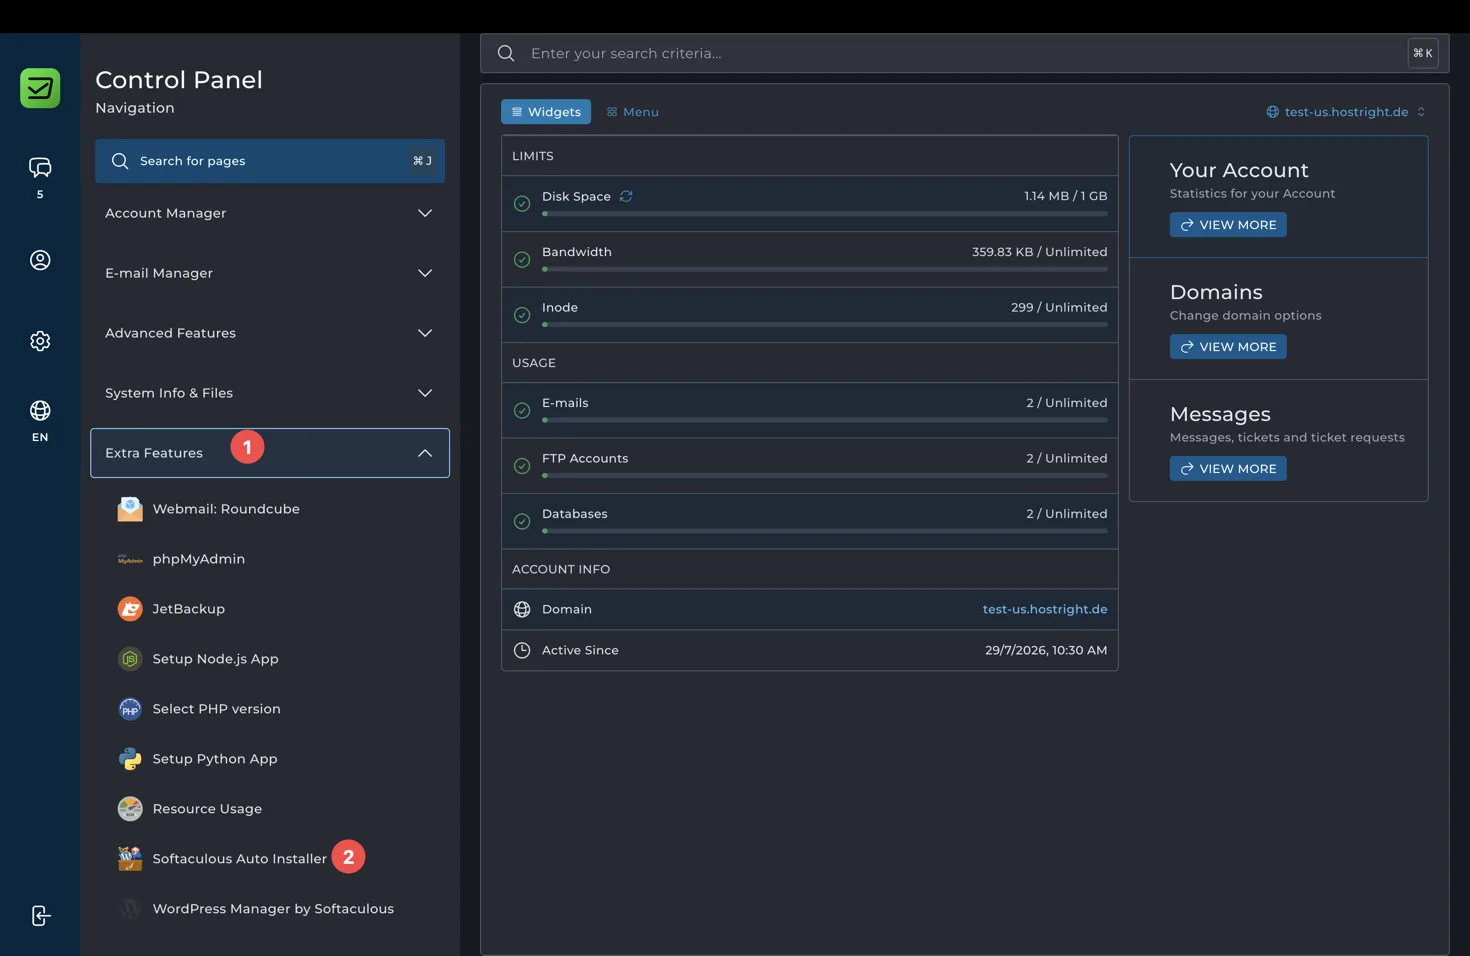
Open Extra Features in the Control Panel and select Softaculous Auto Installer.
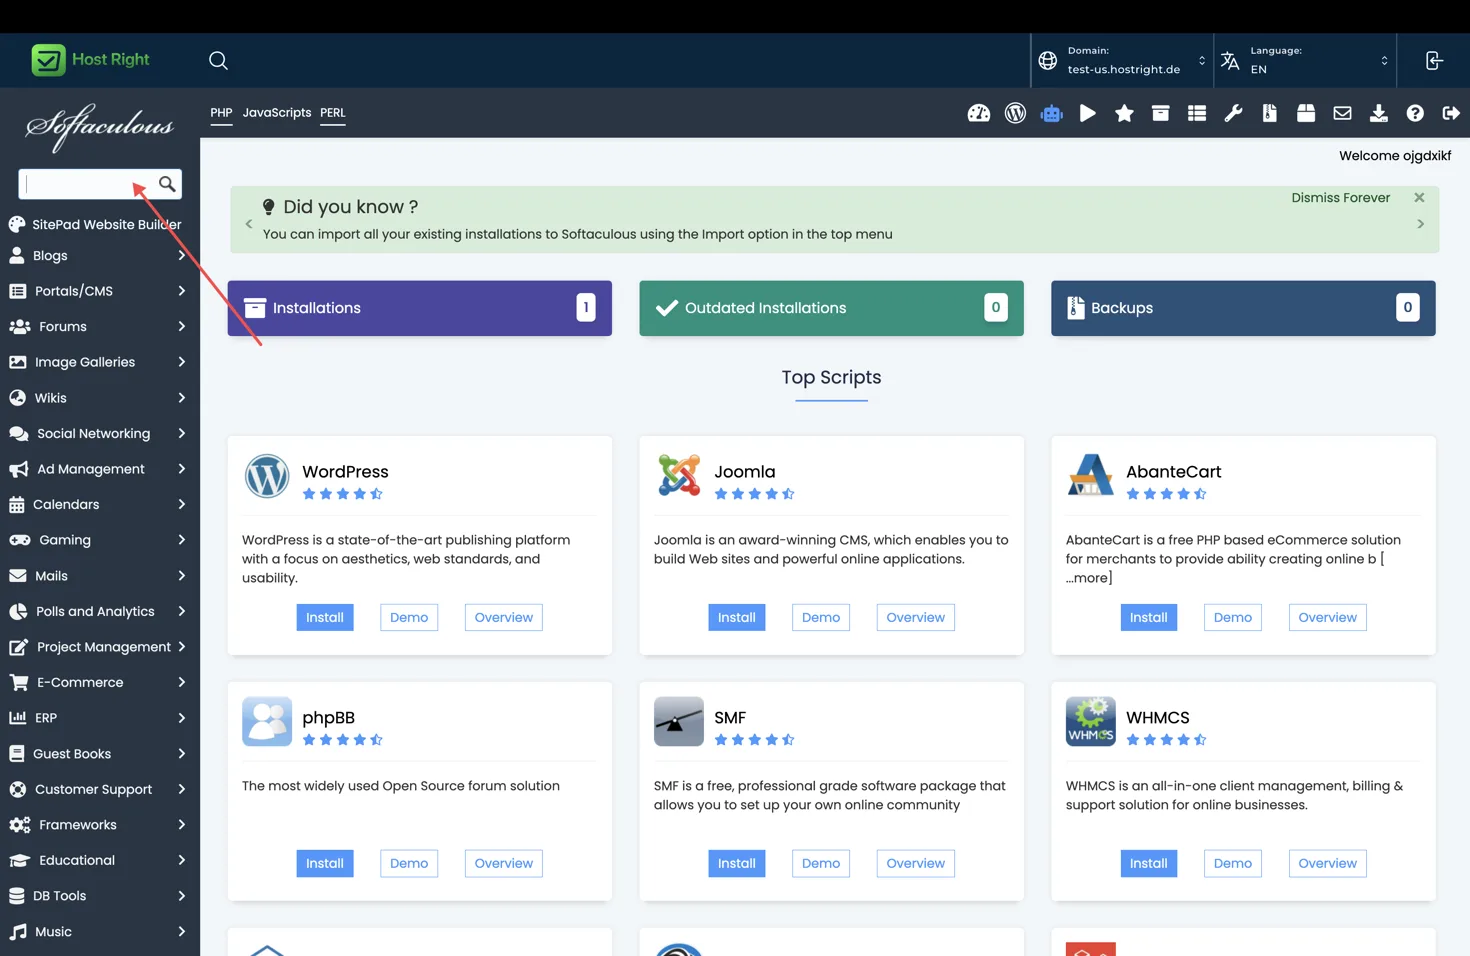
Use the main Softaculous search field to search for the application.
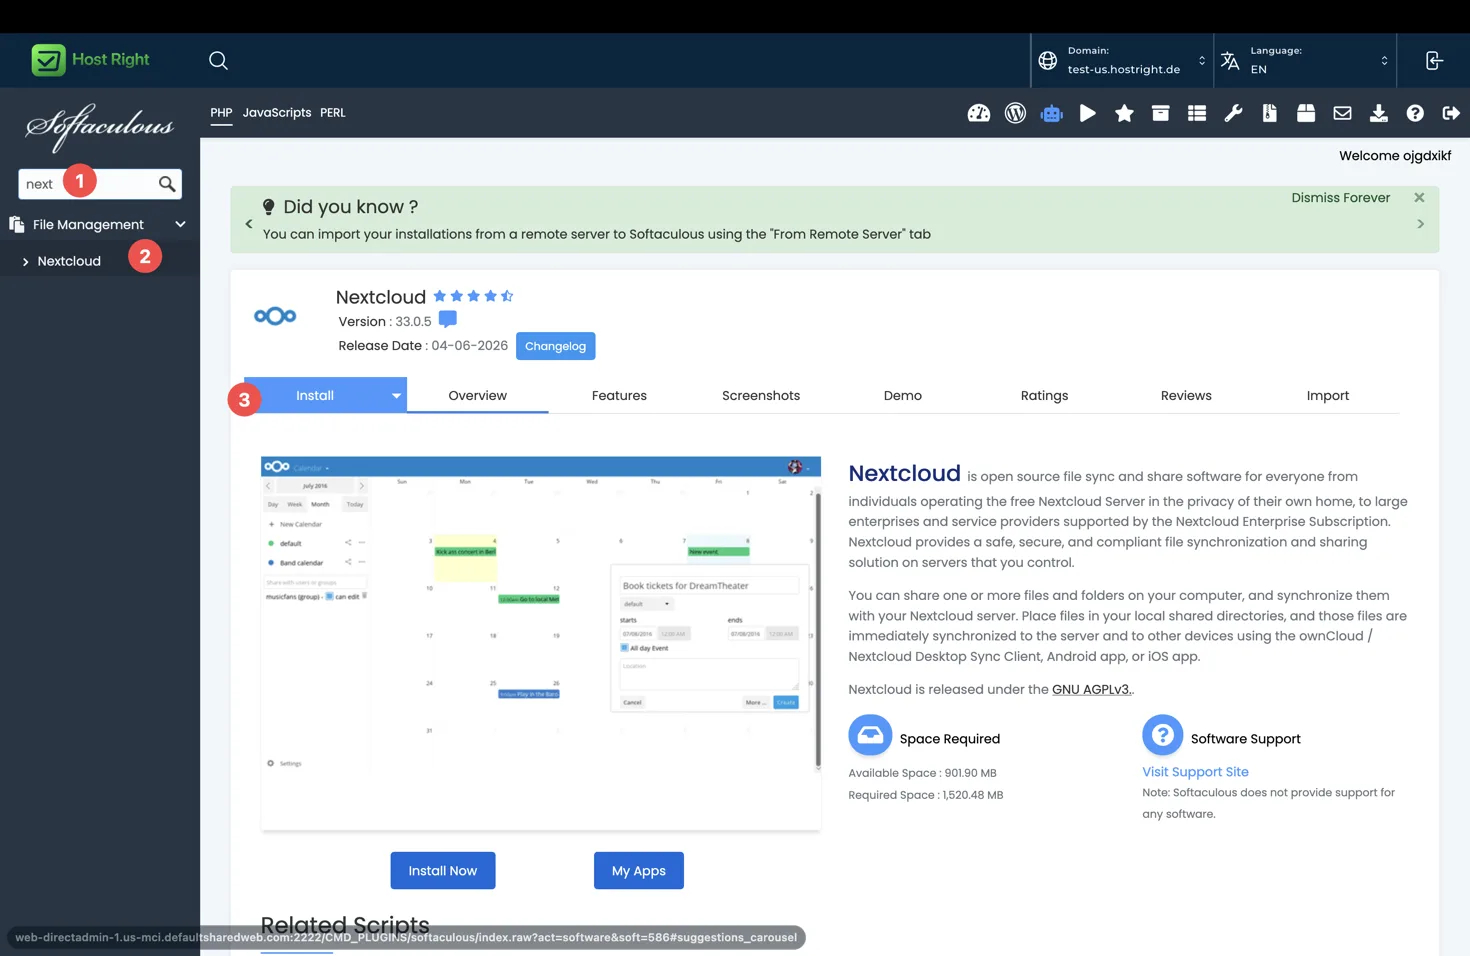
Enter Nextcloud in the search field, open the result and select Install.
Install Nextcloud
Review the supported version and storage requirement before continuing.
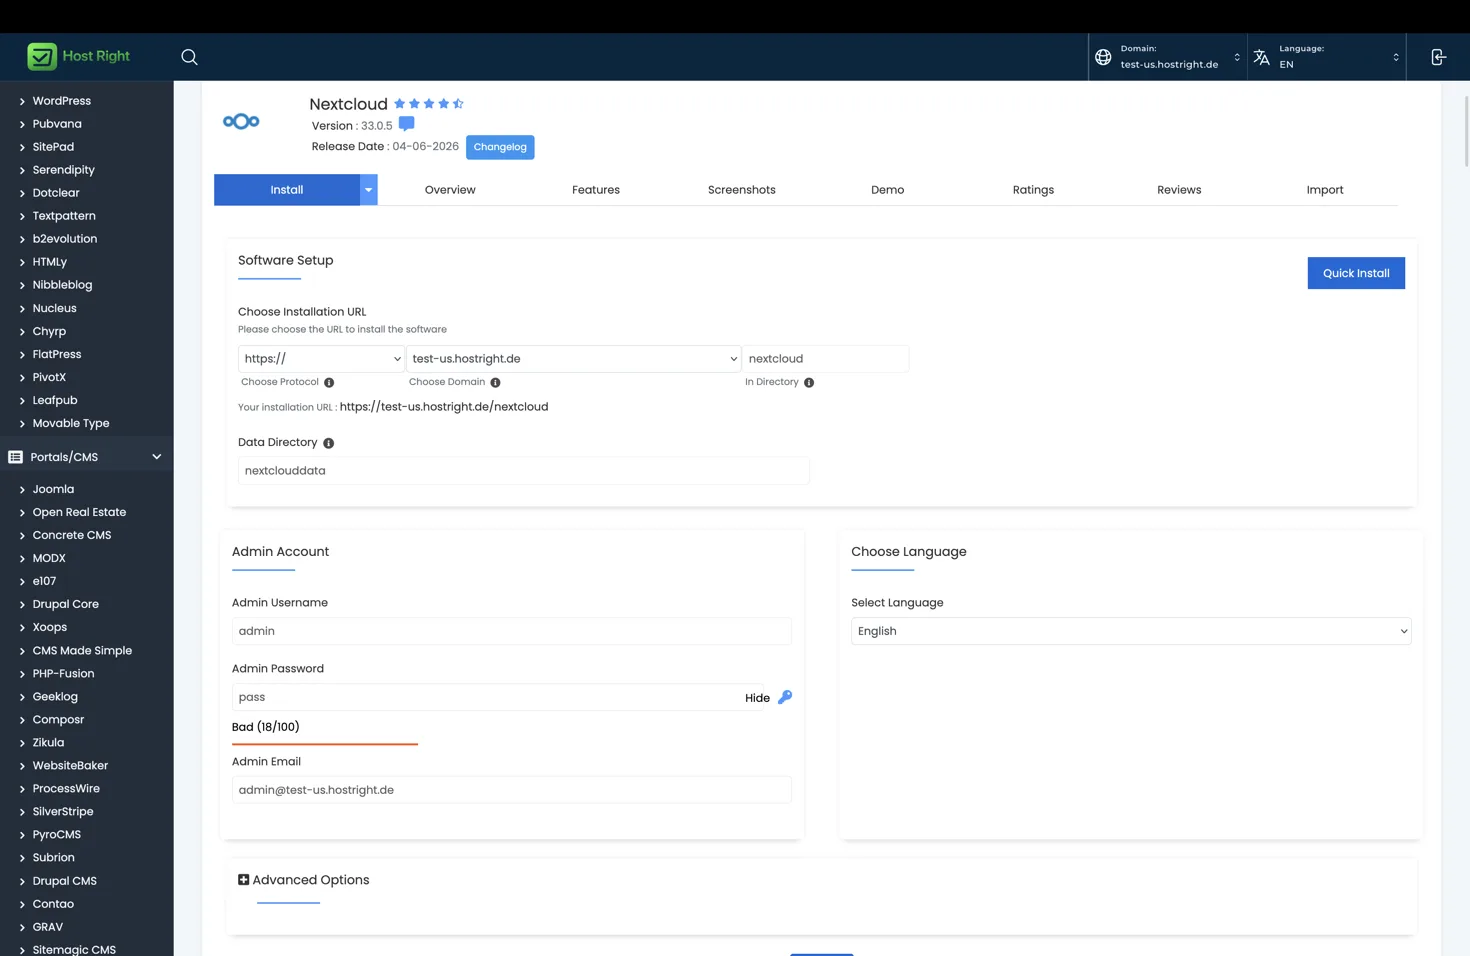
Choose https, the domain, and an installation directory. Enter an administrator username, strong password and email. Keep the data directory outside the public directory when the installer allows it. Review the database name and user, then select Install.
The installer may show a progress screen. Do not close the page until it completes. Save the access URL and administrator credentials shown after completion. The loading and completion screenshots in this section are intentionally omitted because the supplied examples show a MyWebSQL installation, not Nextcloud.
First configuration
Sign in to the Nextcloud administrator interface, confirm the data directory, set the trusted domain, configure the correct timezone, and review the security and background-job warnings. Use cron-based background jobs when the hosting plan supports them.
Storage and database
Nextcloud storage grows quickly. Check the plan's disk limit before uploading large libraries. For a large media collection, consider S3-compatible primary or external storage after confirming compatibility with your Nextcloud release.
Softaculous creates the initial database. Use database management for database access and SFTP for controlled file transfers.
Redis, SSL and backups
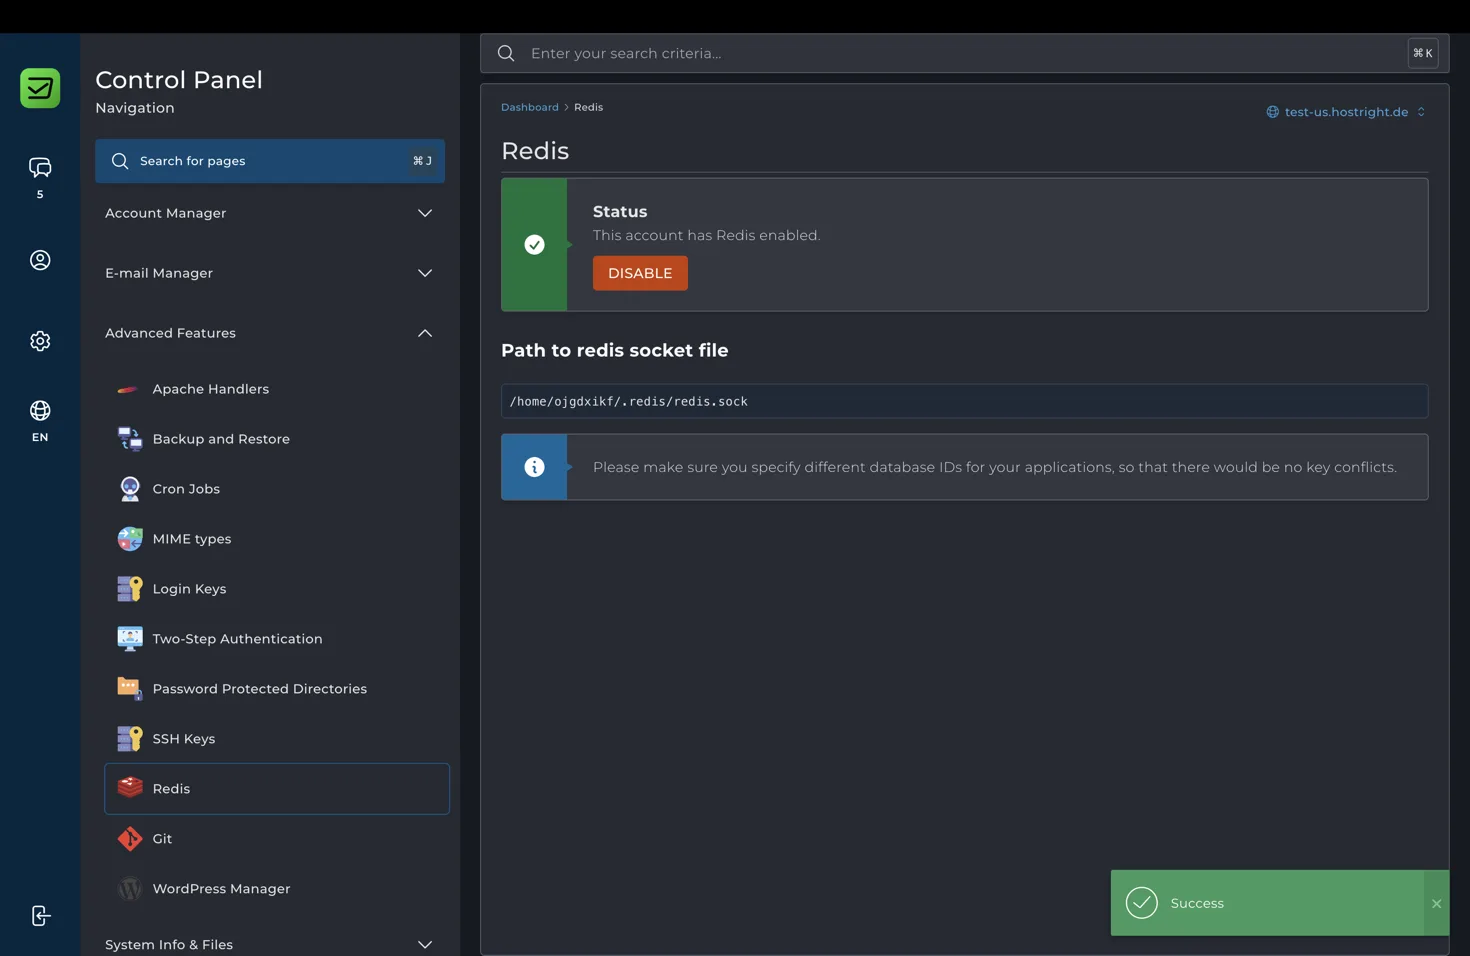
Redis is recommended for file locking and can improve performance on a busy Nextcloud installation. Enable Redis in the HostRight panel, copy the socket path, and configure it in Nextcloud's config.php according to the version's supported Redis settings. This is an optional optimization, not a requirement for the first login. See Redis setup after this basic feature overview.
Use HTTPS for all Nextcloud sessions and WebDAV traffic. Complete SSL setup, enable backups, and test restoring a small file before relying on the installation.
For the shared Softaculous workflow, see one-click applications.