
Application hosting
Deploy Next.js applications
A complete guide to deploying server-rendered and static Next.js applications with HostRight Control Panel and HostRight.
Next.js has two different hosting modes. A server-rendered or dynamic application needs a managed Node.js application. A fully static application should be built into files and served from the domain's public directory. Choosing the correct mode is the most important deployment decision.
This guide uses example.com and an application root of apps/next-site.
Choose the deployment mode
Use server-rendered mode when the project uses server components that need runtime execution, route handlers, middleware, server actions, cookies, authentication, request-time data or dynamic rendering.
Use static export mode when every page can be generated during the build and the deployed result is only HTML, JavaScript, CSS and media. Static export does not need a running Node.js application.
Server-rendered deployment
Project scripts
Your package.json should contain:
{
  "scripts": {
    "dev": "next dev",
    "build": "next build",
    "start": "next start"
  }
}
Test the production build locally:
npm ci
npm run build
npm run start
For a managed application, use a small server.js startup file:
const next = require('next');
const http = require('node:http');

const app = next({ dev: false });
const handle = app.getRequestHandler();
const port = Number(process.env.PORT || 3000);

app.prepare().then(() => {
  http.createServer((request, response) => {
    handle(request, response);
  }).listen(port, '127.0.0.1');
});
The server must use process.env.PORT. The hosting layer maps the public domain to that process.
Create the HostRight Control Panel application
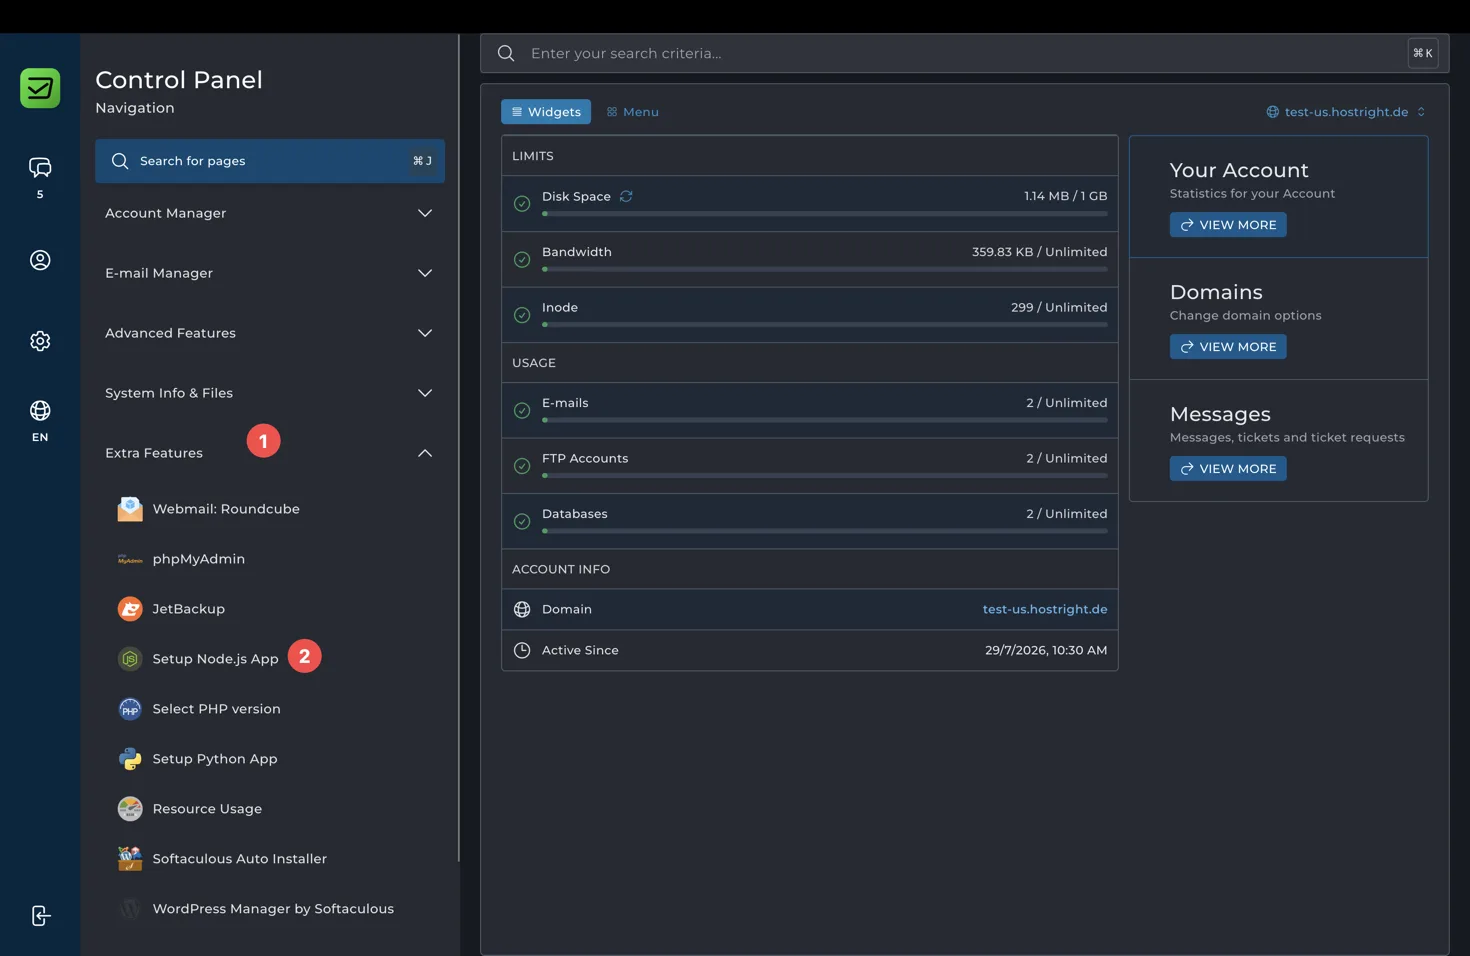
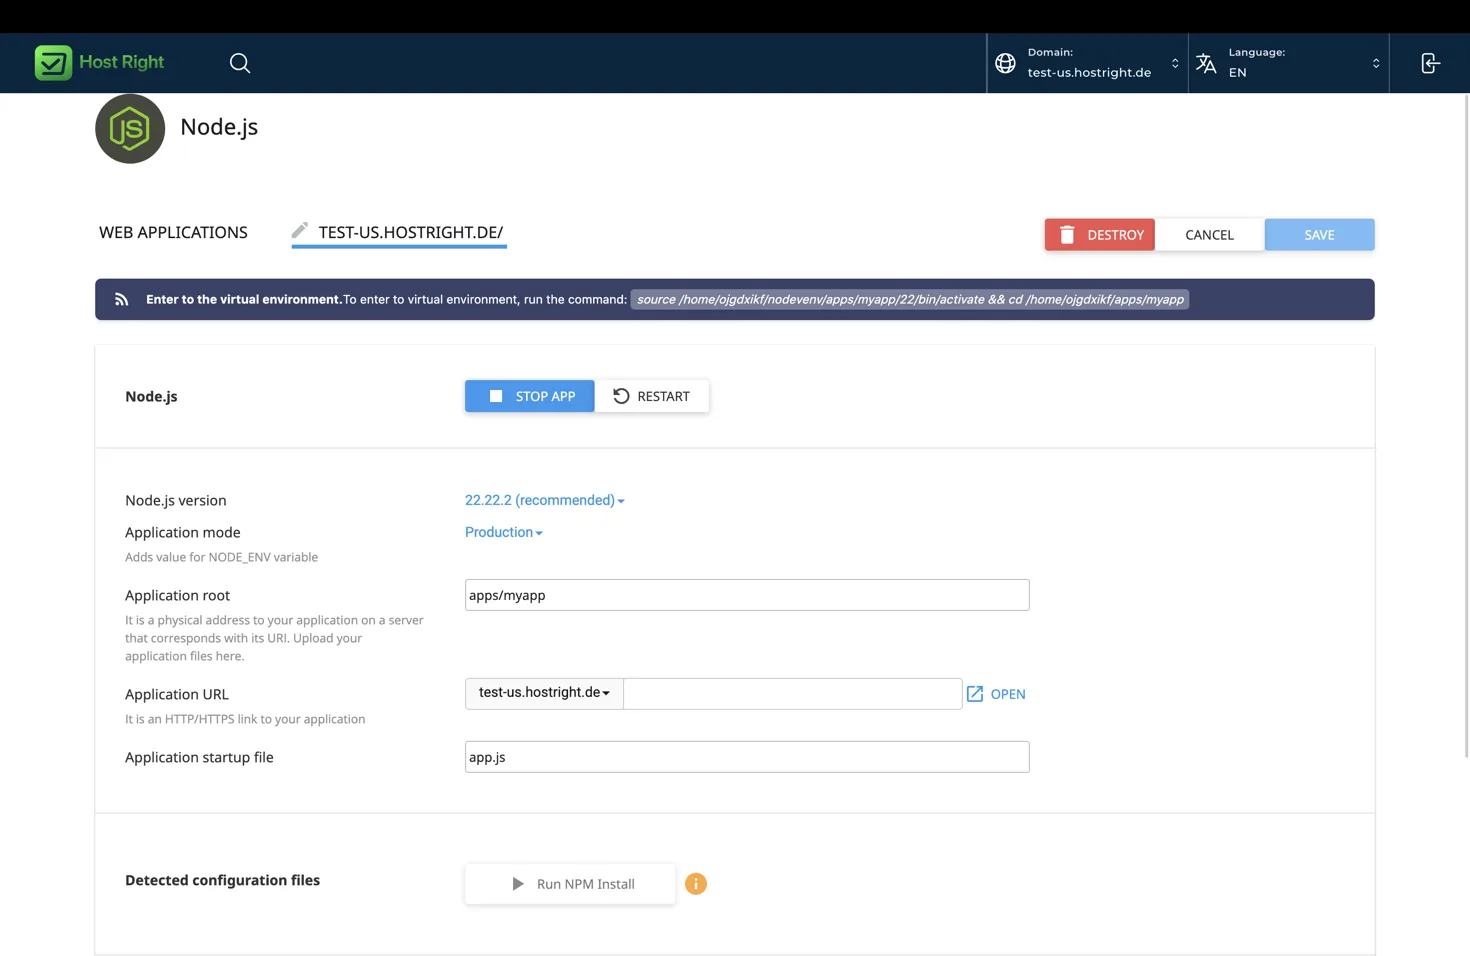
Open Extra Features > Setup Node.js App and choose Create Application.
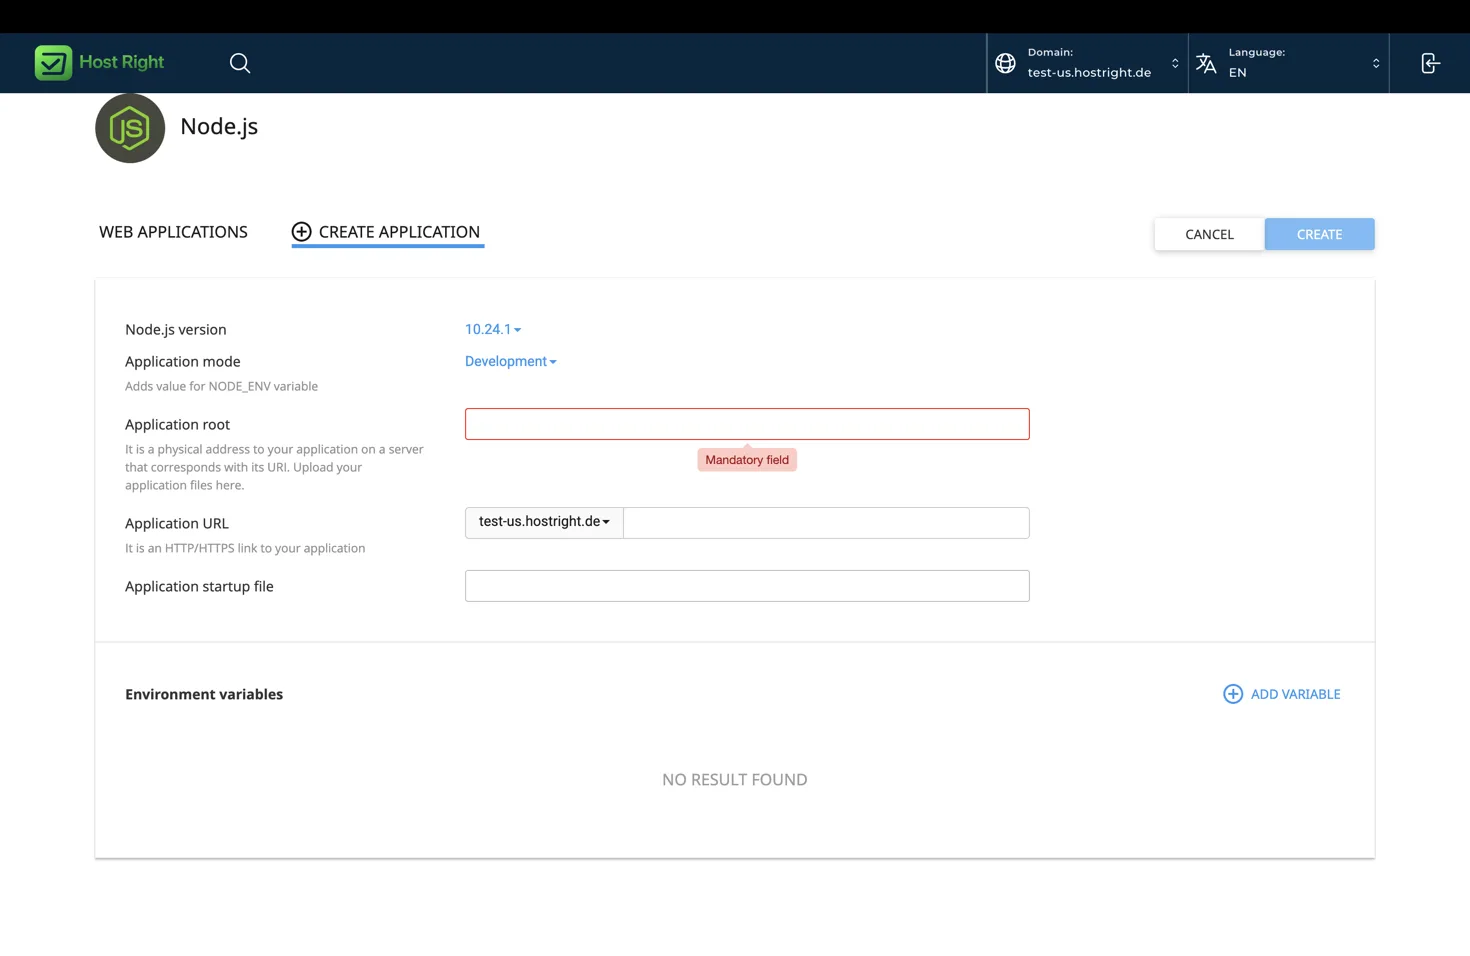
Use:
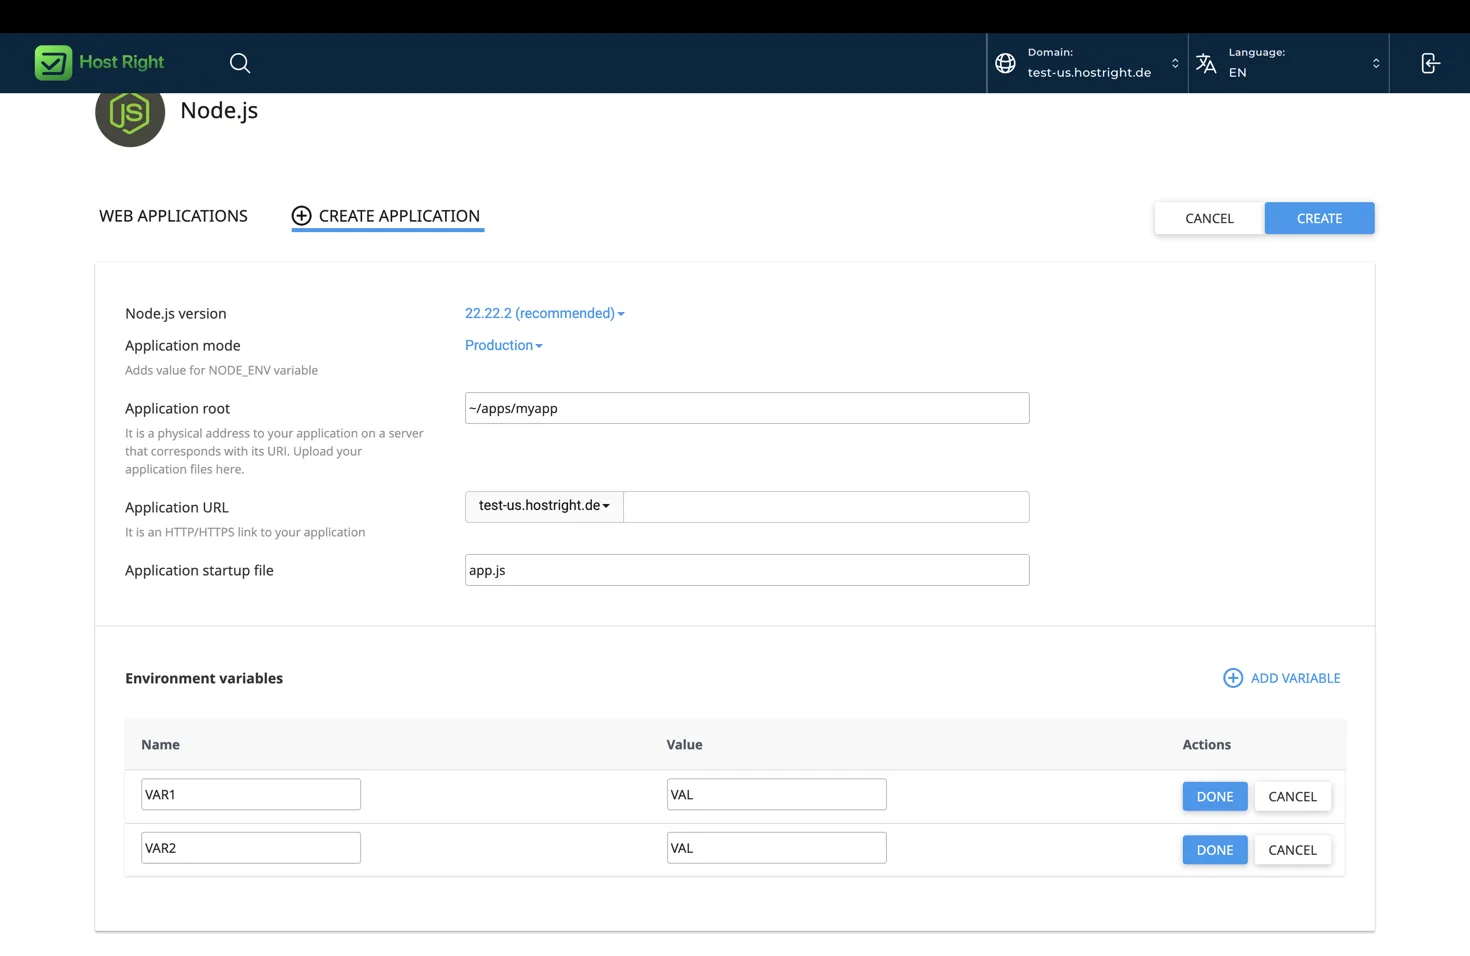
| Field | Server-rendered value |
|---|---|
| Node.js version | A version tested by the project |
| Application mode | Production |
| Application root | apps/next-site |
| Application URL | example.com |
| Startup file | server.js |
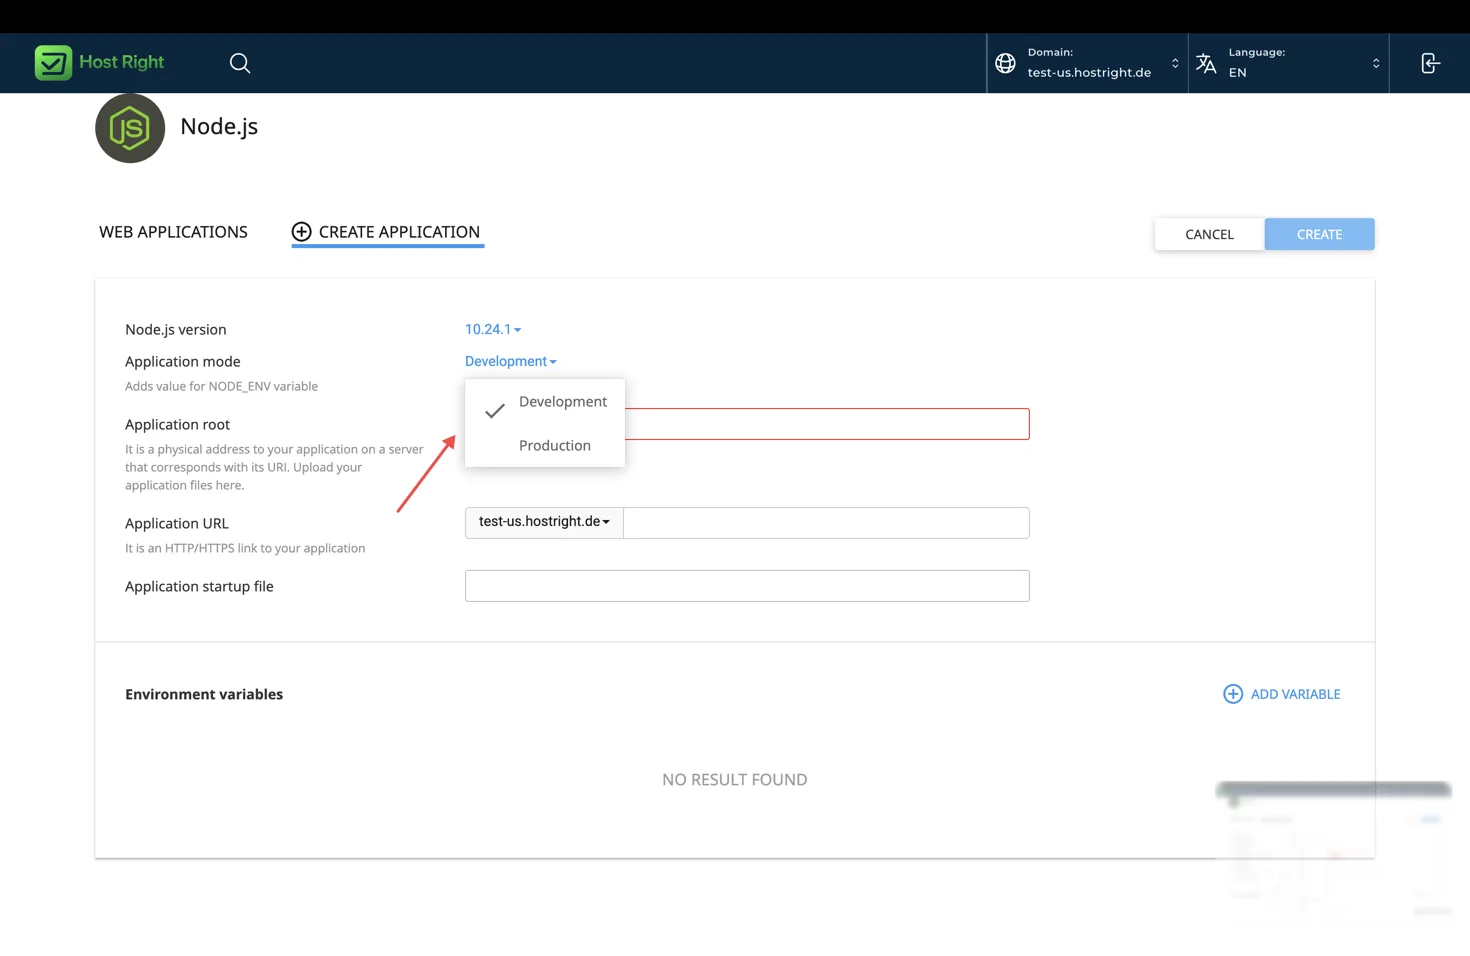
Choose Production mode and add runtime variables such as NODE_ENV=production, DATABASE_URL, AUTH_SECRET and REDIS_URL.
Upload, build and restart
Deploy with Git or SFTP. Keep the project outside public_html:
cd ~/apps
git clone YOUR_REPOSITORY_URL next-site
cd next-site
npm ci
npm run build
Use the environment command shown in the application details page. Select Restart after the build.
Static assets in server mode
Put public assets in public. Next.js serves them from the site root. Files generated by the build are stored in .next and must remain available to the running application. Do not upload only the source files and omit .next unless you rebuild on the server.
For a smaller deployment, use Next.js standalone output. Set output: 'standalone' in next.config.js, run next build, and copy public and .next/static into the standalone directory as required by the version you use. Start the generated standalone server with the hosting port.
Static export deployment
For a static site, configure next.config.js:
/** @type {import('next').NextConfig} */
const nextConfig = {
  output: 'export',
  trailingSlash: true,
};

module.exports = nextConfig;
Build the files:
npm ci
npm run build
Next.js writes the static result to out. Upload the contents of out to the domain's public directory, such as domains/example.com/public_html. Do not create a managed Node.js application for this mode. Apache serves the generated files directly.
Static export cannot use features that require a server at request time. Replace server-only route handlers, request-time authentication and dynamic server data with build-time data or an external API.
Database
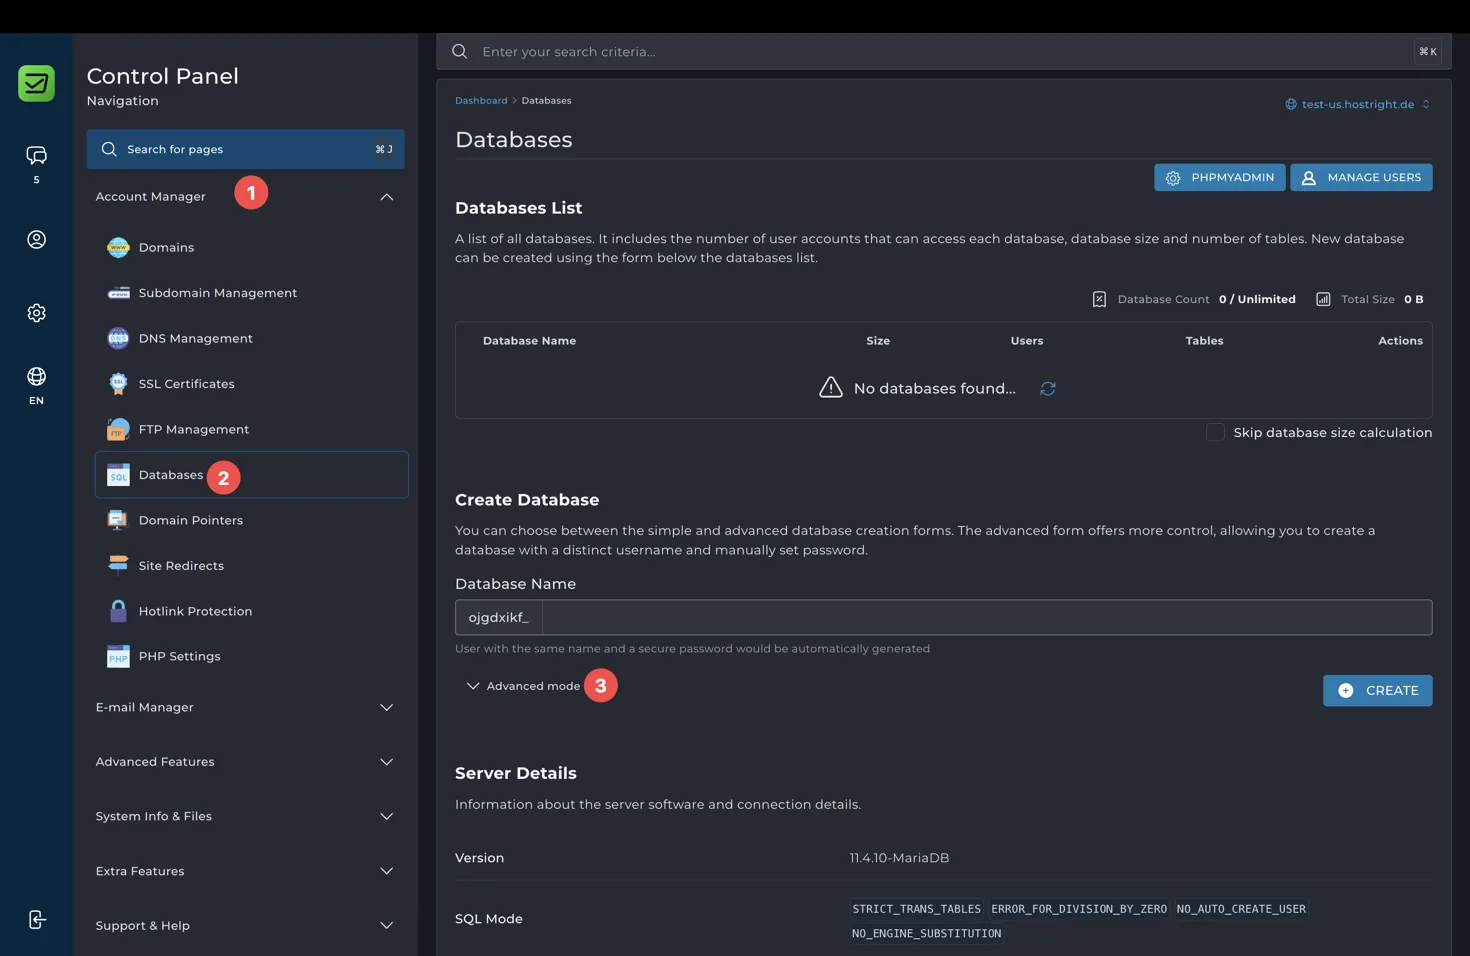
Server-rendered Next.js applications can connect to a database through an ORM or database client. Put DATABASE_URL in HostRight Control Panel environment variables and run migrations from the private application root:
npm run migrate
Never expose database credentials through NEXT_PUBLIC_ variables. Anything prefixed NEXT_PUBLIC_ is intended for the browser.
Create the database and user using the database management guide after this basic configuration is complete.
Redis
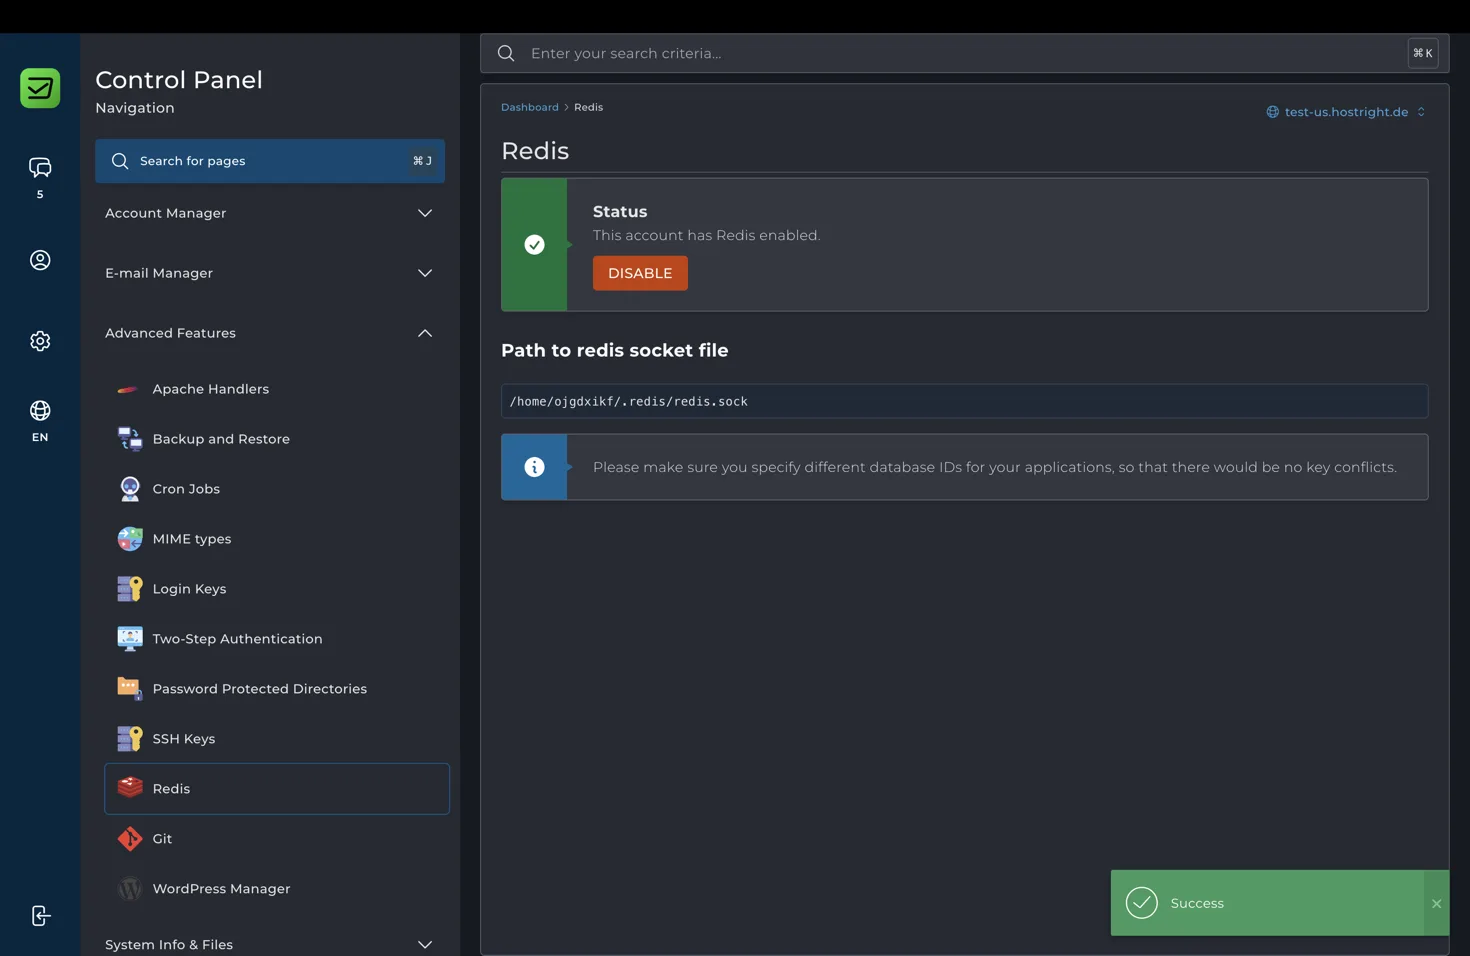
Use Redis for sessions, rate limits, caching and queues in server-rendered mode. Enable Redis in the panel, copy the socket or URL, and add it as REDIS_URL. Initialize the client in server-only code, not in a browser component:
import { createClient } from 'redis';

export const redis = createClient({ url: process.env.REDIS_URL });
Do not put REDIS_URL in NEXT_PUBLIC_ variables. Redis is optional and is not required for static export. The Redis guide explains the panel-specific socket configuration after this basic setup.
SSL, domains and environment variables
Point DNS to HostRight, issue the domain certificate, and test HTTPS before launch. Add production variables in HostRight Control Panel instead of committing .env.production. Rebuild when a variable is needed at build time, and restart when it is read at runtime.
Use the SSL guide for the certificate flow.
Deploy updates
cd ~/apps/next-site
git pull --ff-only origin main
npm ci --omit=dev
npm run build
Restart the Node.js application. For static export, replace the files in public_html and verify that old build files are removed only after the new build is ready.
Troubleshooting
The server-rendered site shows an application error: check server.js, process.env.PORT, the build output and runtime variables.
A static site returns a blank page: confirm that the contents of out, not the out directory itself, were uploaded to public_html.
A page works locally but fails after deployment: check whether it uses a server-only feature while configured for static export.
Images fail in static export: confirm the image configuration supports static output or use an external image loader.
Database or Redis values are undefined: check that the variables are set in the HostRight Control Panel application and restart or rebuild according to when the value is read.